Inspiration Photos
Before Shots
View from the stairs.
Another view. Door to the garage.
Other side. Door to the backyard.
First part of demolition- remove this wall.
And on the other side of that room= ugly fireplace
Backside of the wall to be removed.
PHASE 1 : Walls
Build wall at bottom of stairs- check!
Remove wall- check! Say hello to my master carpenter aka father-in-law.
He's sitting at what will become the bar.
PHASE 2 : Brick
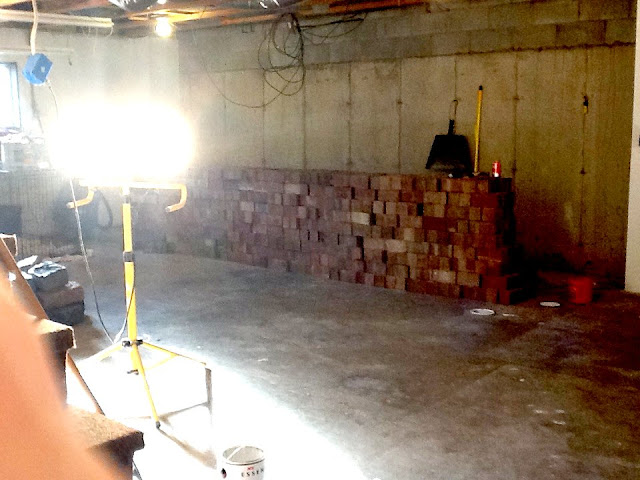
The brick has arrived!
Ready to build the wall!
Wall is done!
Brick for bar base.
Bar done!
PHASE 3 : Stone
Before
After
We used granite stones that we already had, leftover brick,
and spray painted the existing fireplace screen.
This fireplace only cost us the price of a few bags of mortar. Nice!
PHASE 4 : Ceiling
Rough cut wood straight from the sawmill.
Awesome way to have a wood ceiling at a fraction of the price!
PHASE 5 : Bar Ceiling & Lights
We used corrugated tin sheeting to create the industrial look
we were wanting and it also helped to break up the wood ceiling.
We built cross beams and larger beams to frame in above the bar area.
Lights were purchased online.
Still to come
Bar countertop & shelving (countertop arrives tomorrow!)
Paint & Trim (which is actually done I just haven't taken pics yet)
Fireplace shelving
Flooring
And, of course, decor!
Stay tuned.....
p.s. I'm sorry my pictures are terrible.
I deserperately need a nice camera-
it also doesn't help that I take most of these pictures with my phone :(


Hi,
ReplyDeleteI have a quick question about your blog, do you think you could e-mail me?
Brian